 Jennifer Nixon
10 HubDB Live Examples on HubSpot CMS Websites
You work with HubSpot and already use the HubSpot CMS from the Content Hub for your website. You may be familiar with the HubSpot HubDB...

What's better than building a website page quickly? Building one that is also optimized to improve performance, reduce page loading times, and leave your site visitors happy!
When it comes to website speed, the faster, the better. Nobody likes waiting for a page to load, especially if that page is your homepage. In this blog post, we'll give you some tips on how to speed up your website pages with HubSpot CMS using a theme. We'll also show you how to use a HubSpot theme to save you time, too!
Using a theme with HubSpot's CMS makes it easy to do both. Designed for marketers, the tools within HubSpot's page editor are designed to work seamlessly with themes from the marketplace to create an optimal page-building experience.
Check out these tips for creating faster pages with HubSpot CMS, quicker!
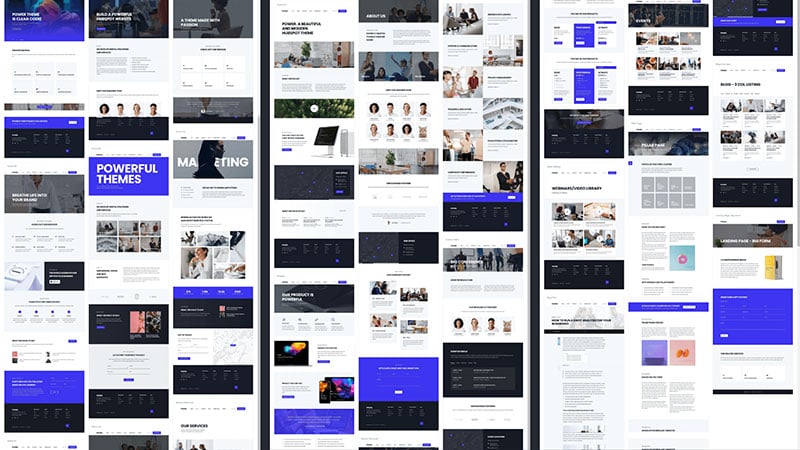
Themes come with up to 50 templates for a reason - they can save you a lot of time and effort when it comes to creating your content.
Choosing the template with the action-specific modules you need will help you get your content created faster and with less stress.
It's important not to force your content to fit the template, even if it is just a rough sketch, try to have an outline for how you want the content to flow on your page before you start. Then, add to or delete modules from the template to fit your outline.
Make sure that your keywords, content, and call-to-action all align around a single topic that is relevant to your buyer persona and the stage of the buyer journey they are in.
One way to save time and keep your site looking consistent is to leverage saved sections. A saved section is a section of content that you've styled and designed to fit your brand and content.
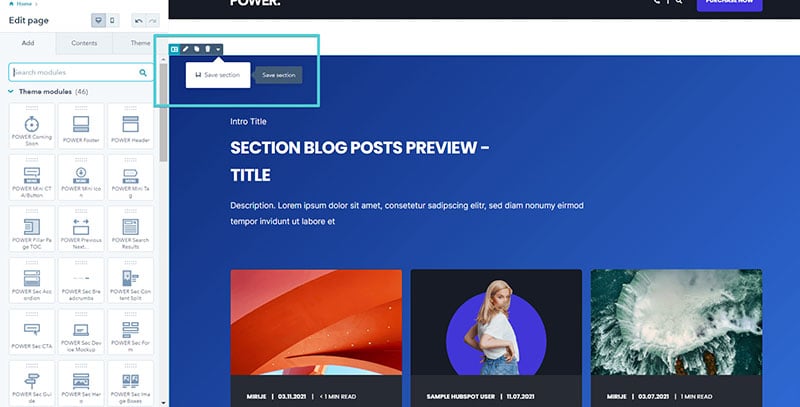
Adding saved sections when building website pages will help speed things up quite a bit. Once you add the section, you can modify the content to fit the new page.
Blog post previews are the perfect example of content you can build quickly and easily across multiple pages.
You want the look & layout to be the same, but the content on each page will be unique. Using a saved section makes it easy to add testimonials to pages across your website quickly & easily!
Website templates use placeholder text to give you a broad sense of the layout, this will help you visualize how the modules will work together on the page.
Whenever possible, pre-write your content so you know the message, tone, etc. of the topic you are covering. This will prevent you from straying off-topic or letting the template determine the layout of the information.
If you don't have pre-written content, use the placeholder text to write very brief descriptions of what you want to include. Don't get hung up on details or grammar, just describe what you're trying to achieve for each available title, description, or text block, then come back later after you've written the content and fill it in.
For SEO-driven pages, especially Pillar Pages, the most important thing is that your content is clear, concise, and easy to read.
If you're not a writer and you don't have a copywriter on your team or you’re not already working with an agency, consider hiring a freelance writer to help get the message right. This will save you a considerable amount of time and their expertise will add value to your content.
Sections, Columns, Rows, and Modules are the building blocks of CMS and create the hierarchy for your website page.
A section is a horizontal block on the page that provides the initial structure of the page to organize your content.
A section can be set to content width or full width, with options to adjust the padding and background built-in.
A section can consist of one or more columns, the vertical structure of your page.
You can add modules to a section to create one or more rows, the horizontal structure of the section.
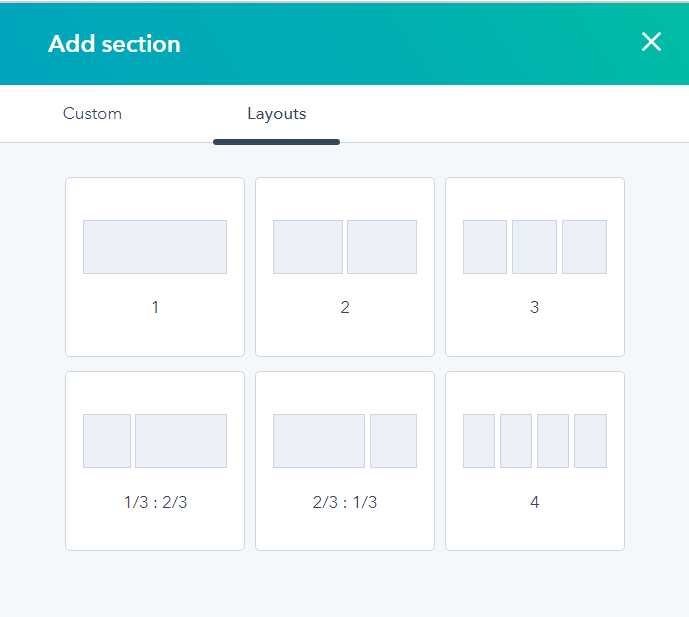
You can choose from preset layouts by following the steps to access a saved section and switching to the "Layouts" tab.
Modules can be added to a section or column within a section and styled according to the theme options included by the developer.
Modules are the true power of a theme and the capabilities vary from theme to theme.
Some themes offer prebuilt section modules that make it much quicker to add to a page because you're not having to set up the columns or add the modules individually.
A good example of this is a basic 2 column layout with a title and text on one side and an image on the other.
A prebuilt section module will also have the padding built-in so you can just drag and drop it on the page where you want it to be, set it to full width, add your content, and voilà!

One of the best ways to speed up your website is to optimize your images. That means choosing the right format, sizing them properly for your layout, compressing them for faster loading, and converting them to the optimal file type.
Waiting to add images to the page until the end will let you set up your images assembly-line style to save even more time.
Most websites use a combination of these image formats: JPEG, PNG, GIF, SVG, and WebP. With compression, you can reduce the file size without reducing the quality of the image.
Keep in mind that the larger the file size, the longer it will take to load on a page - file format can have a big impact on file size.
If your primary concern is with page speed, specifically the requirement to serve images in next-gen formats, you’ll want to go with WebP.
Once you've decided on the right format, you will need to resize your images to fit the layout in the template. You can do this in a photo editor like Photoshop or Canva. Batching your images by size and exporting them all at once is a great way to save time.
Use a browser extension, like Chrome's Page Ruler, to measure the approximate size of the image you'll need in the layout. If the theme is optimized for retina displays, you'll want to increase the dimensions by multiplying by 1.5 to get the most out of this feature.
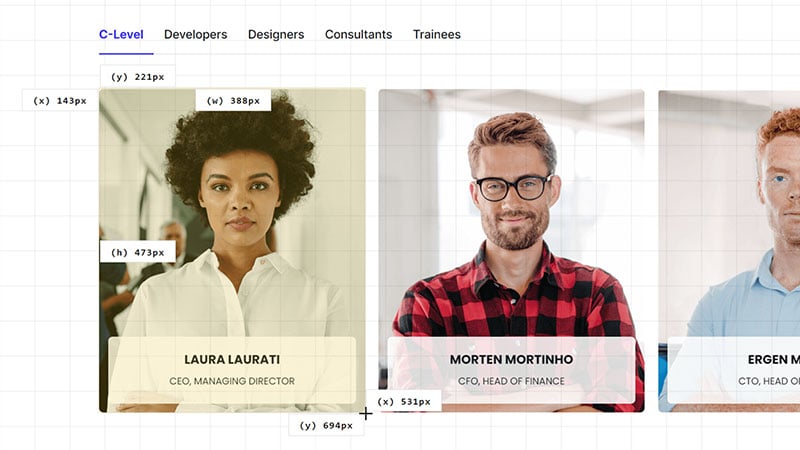
Many themes available in the HubSpot Marketplace, like POWER, are designed to have responsive images, which means they are automatically resized based on the viewer's device, so just use the dimension for a large desktop and you'll cover your bases.
After your images are resized, it's time to compress them for faster loading. Tinypng.com is a great tool for this. Simply upload your images, wait for them to finish compressing, and download them all at once.
The final step is to convert your images to WebP, there are several online options to do this for free including convert.io, cloudconvert.com, ezgif.com, and freeconvert.com which make it easy to upload the compressed files and download your final images.
Now just load all of your images to your HubSpot file directory and update the placeholder images from the template with your optimized images.
One of the advantages of using a paid theme is that the developer has already done the heavy lifting for you.
Whether it is including lazy loading for images to improve page load speeds or adding features that help you improve the UX, these features will save you time and development costs in the long run.
If you're optimizing for conversions or to improve the user experience, you'll likely include more elements to make the content engaging such as animation on scroll, parallax effect, video backgrounds, and shape dividers.
These are great features to include and can take your design up a notch, just make sure to balance out their UX enhancement with the impact on page speed. You might also consider turning off on mobile, where people are looking to get information quickly and will leave if the site doesn't load right away.

Image source: Adobe Stock © Quality Stock Arts 268807077

You work with HubSpot and already use the HubSpot CMS from the Content Hub for your website. You may be familiar with the HubSpot HubDB...

The most efficient way to create a website in HubSpot is to follow a clear sequence: first, set up the domain; then, select a suitable theme; build...

A website is more than a beautiful web design. In addition to a marketing functionality, it also has a communication task. With HubSpot's CMS, with...